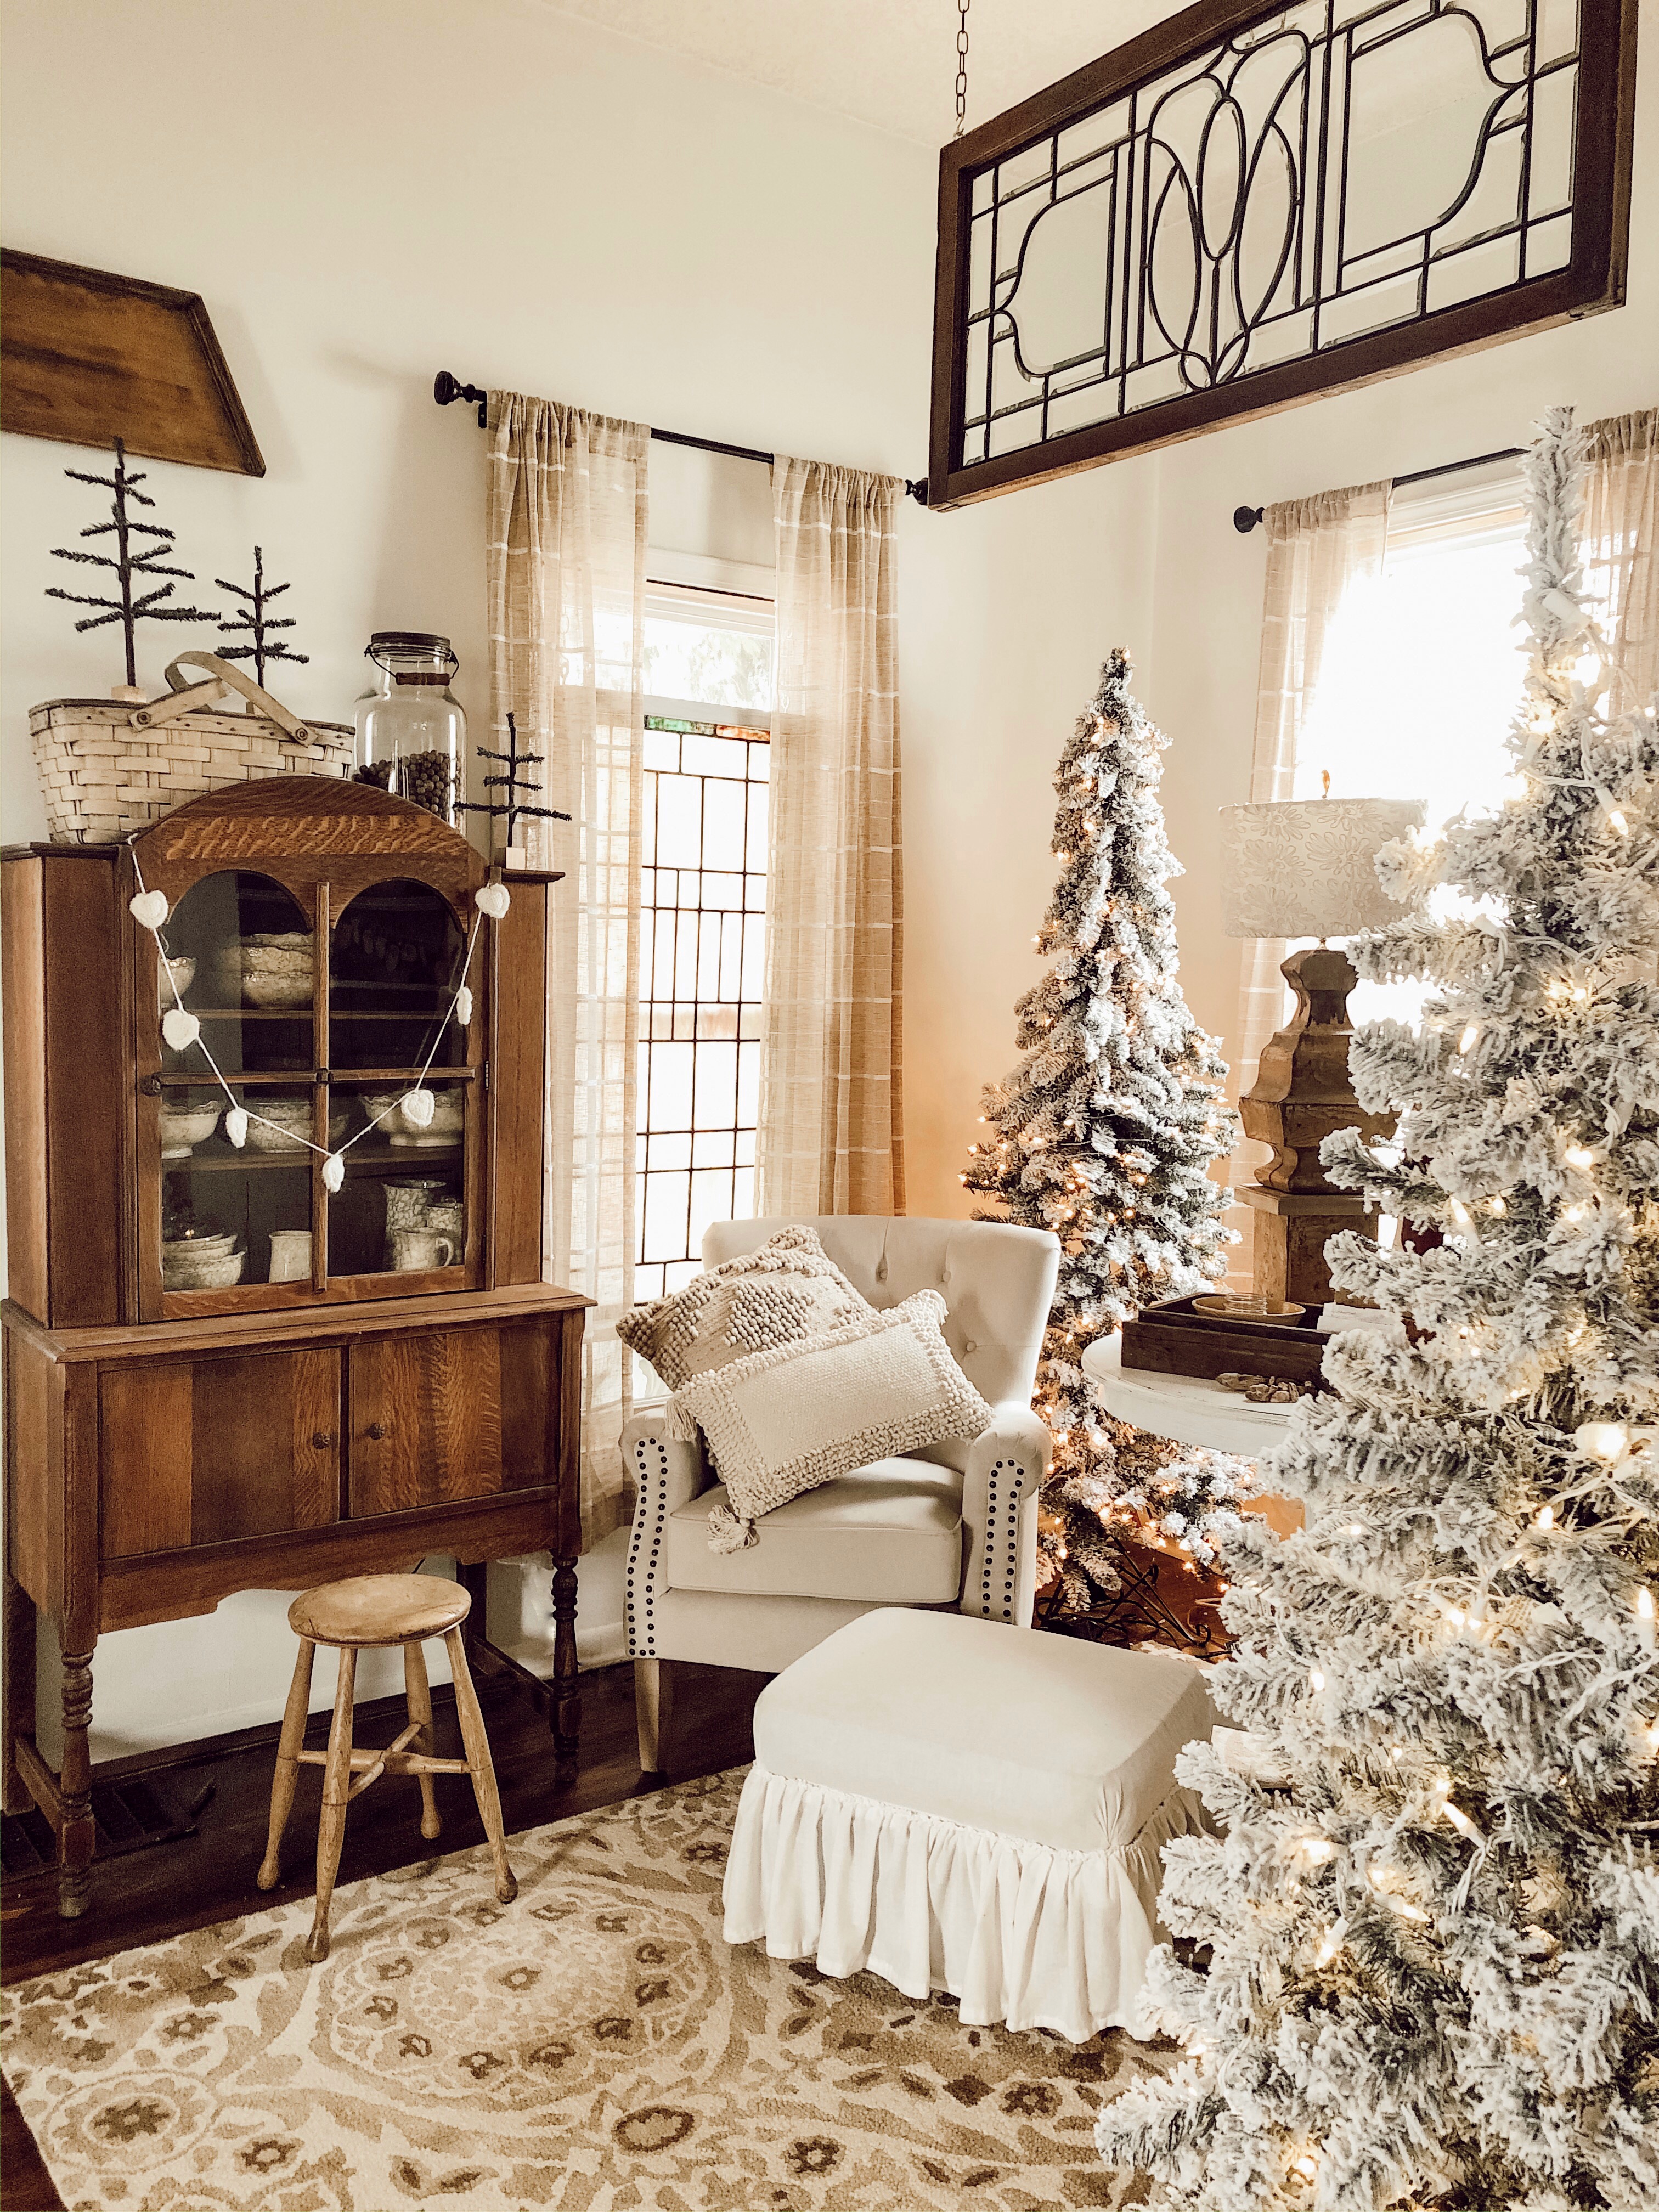
I recently shared how to make vintage looking Santa ornaments out of paper mache. All of the memories came flooding back of all of my craft days I had when I was a young mom. My friends and I had “craft days”. It was when we all got together and made different things that one of us had found. Those were the days of home phones. So we had to trust each other as to what “craft” we would be making on the next “craft day.” We couldn’t text pics. 😂
One of the projects I made way back in the 90s were little antique feather tree replicas. I LOVED old fashioned feather trees, but the price tag was a little too steep for me. 🤔 My friend found one at a garage sale a few years back and paid $2.00 for it. 😲 Now THAT price I can handle. I started making my little replicas and selling them to our local Rustic Hutch. So many little feather trees were made. Mine ended up being sold at my garage sale several years later. I decided to whip a few of them up this year to add to my decor.
I think they turned out cute and thought I would share with you. They are SO EASY to make.
How to Make Your Own Vintage Looking Feather Tree
Supplies:
- Dowel Rods – I used 5/16″ for the smaller ones and cut them 8 1/2″ long
- Base – Wooden blocks, spools, etc
- Greenery – I used an old Christmas tree I found at the thrift shop
- Brown Floral Tape
- Paint – Only if you have to paint your bases
- Wire Snippers
- Scissors
- Drill bit / driver (if needed for base)
- Hot Glue (if needed for base)

Instructions:
I had Deb cut my 5/16″ dowel rod 8 1/2″
Using my wire snippers, I cut off the branches of my thrift store Christmas tree. I separated them all into piles according to length because you will want different lengths for your feather tree.

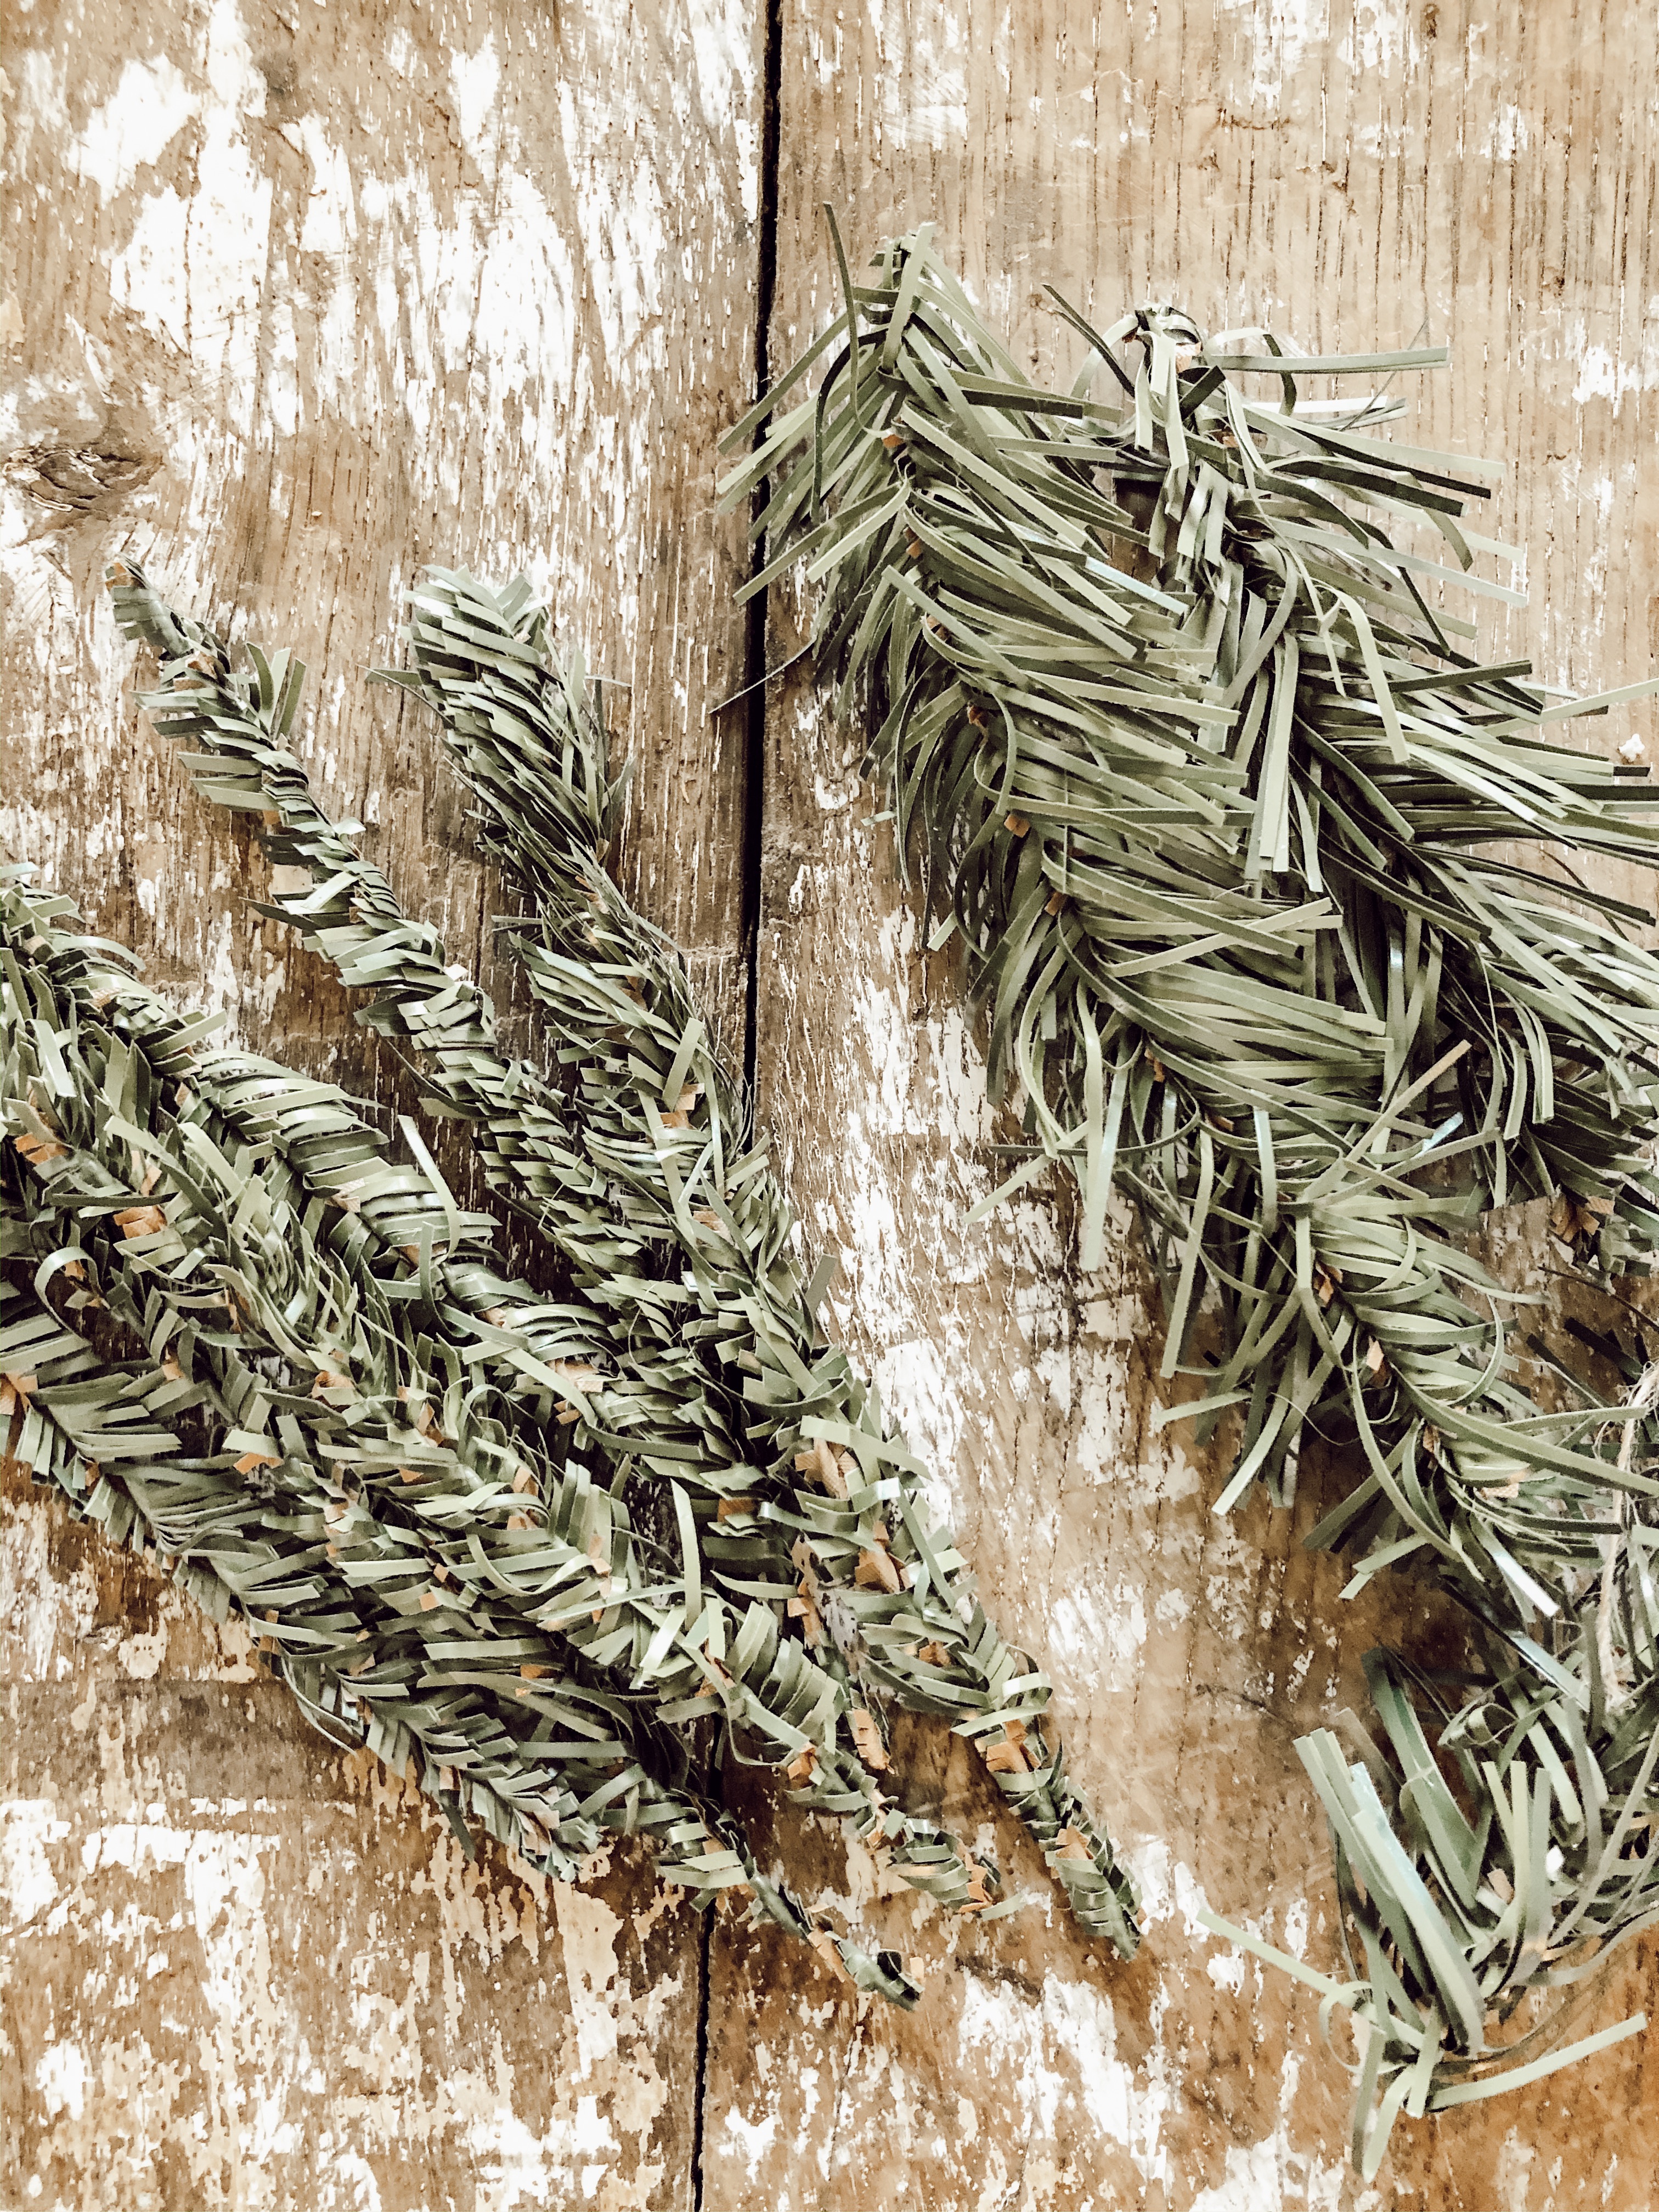
Then, I trimmed most of the greenery off of the branches. I trimmed mine very short because I liked the look better. Tip: trim the greens even shorter on the end you cut off the tree. It makes it easier when attaching them to the dowel rod.
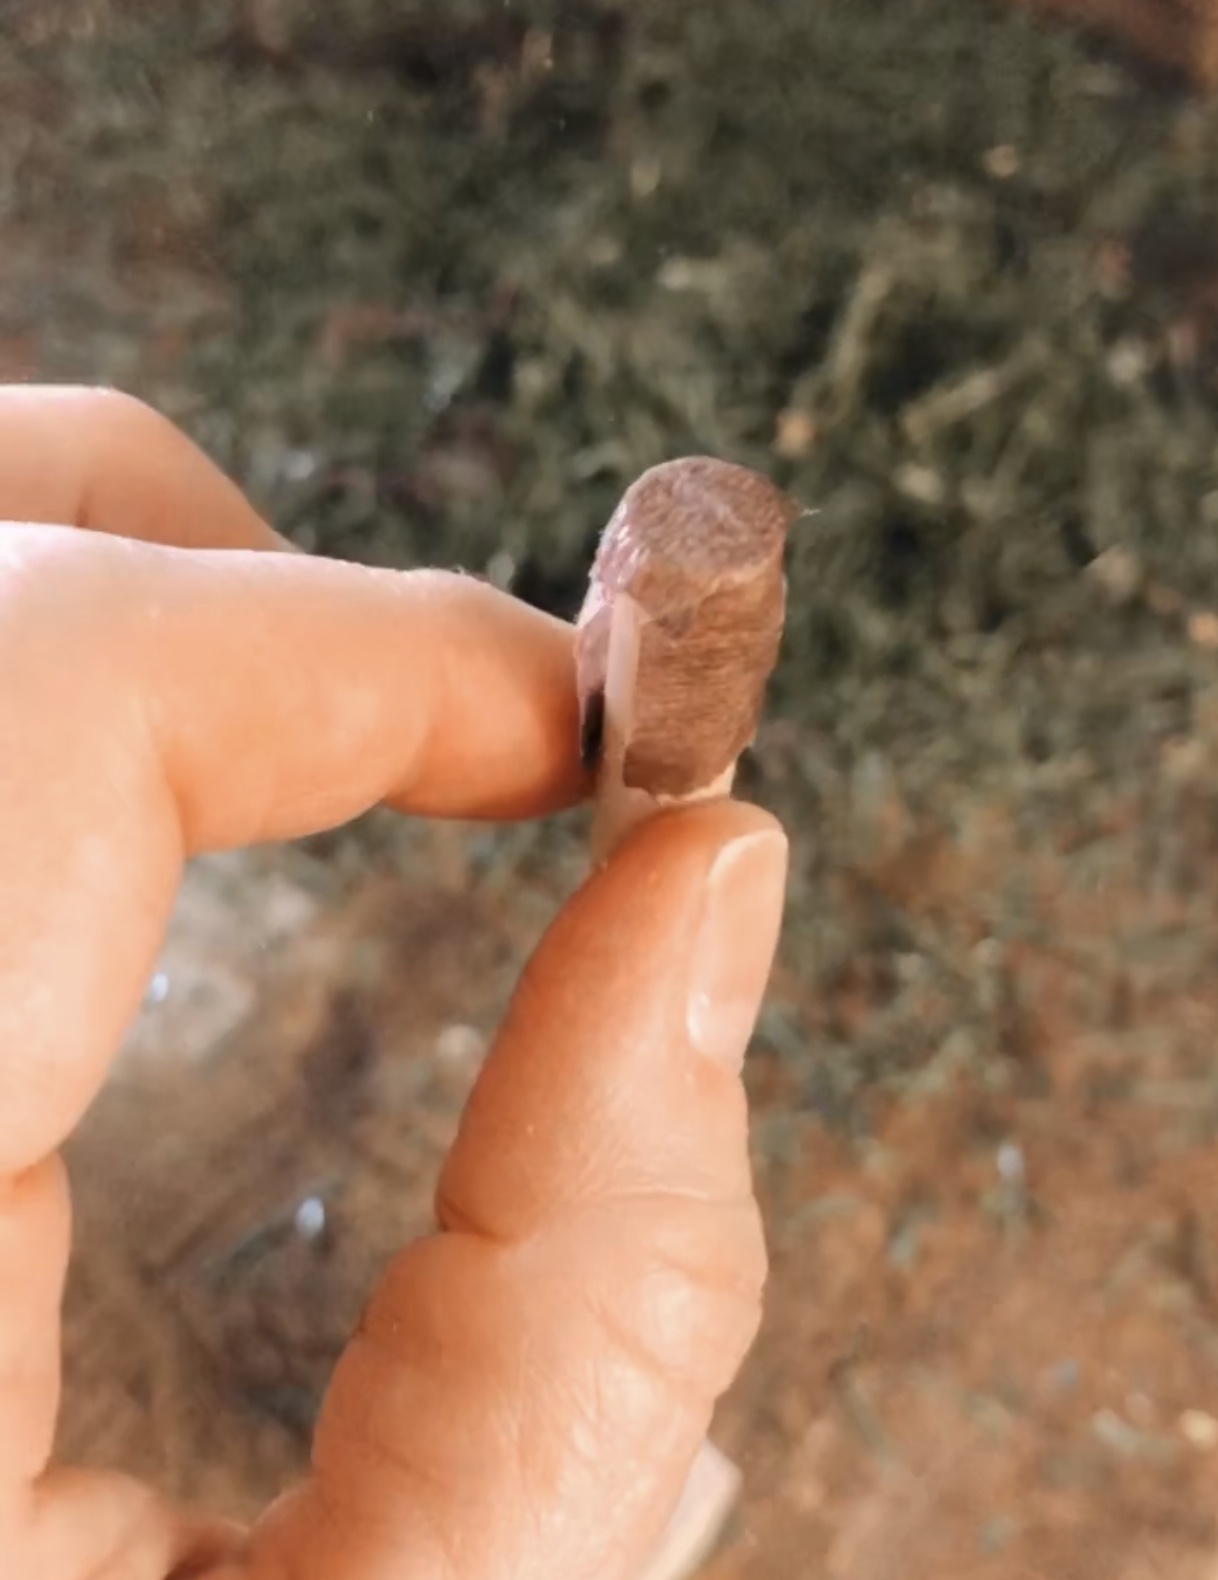
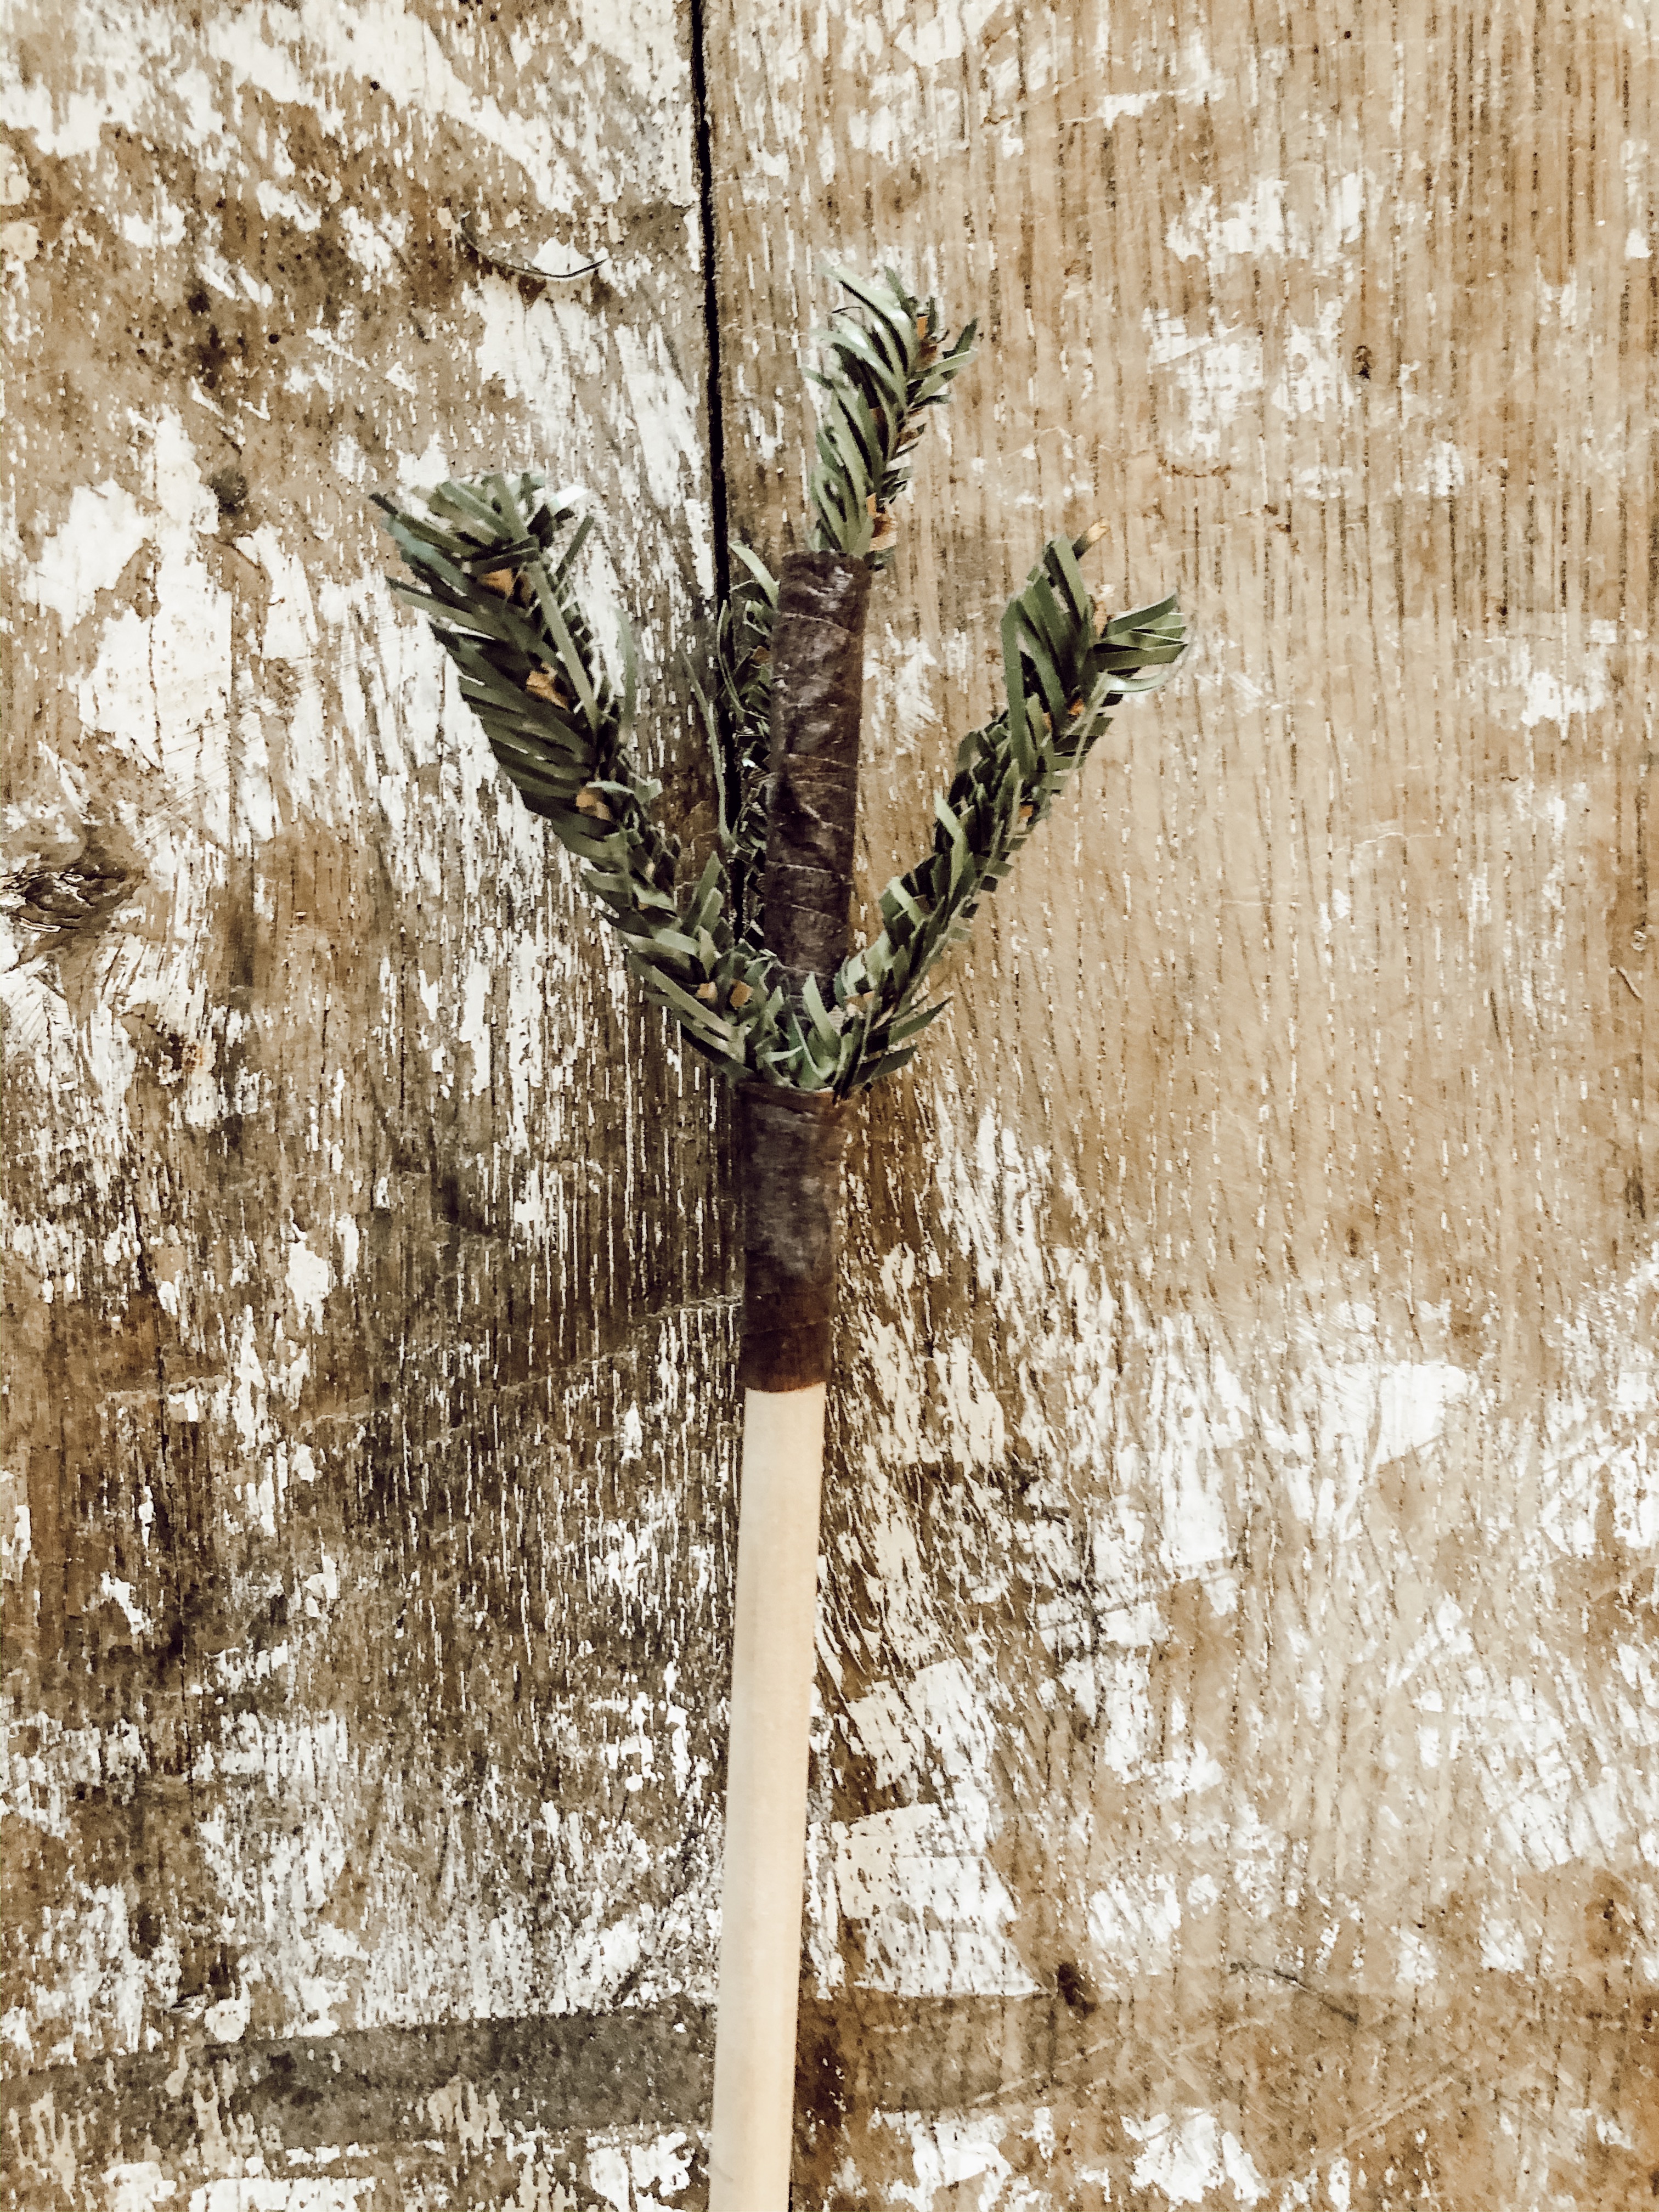
Starting at the top of the rod, I covered the rod with a small piece of brown floral tape
I took a small piece of greenery and wrapped the brown floral tape around it a few times holding it tightly into place.
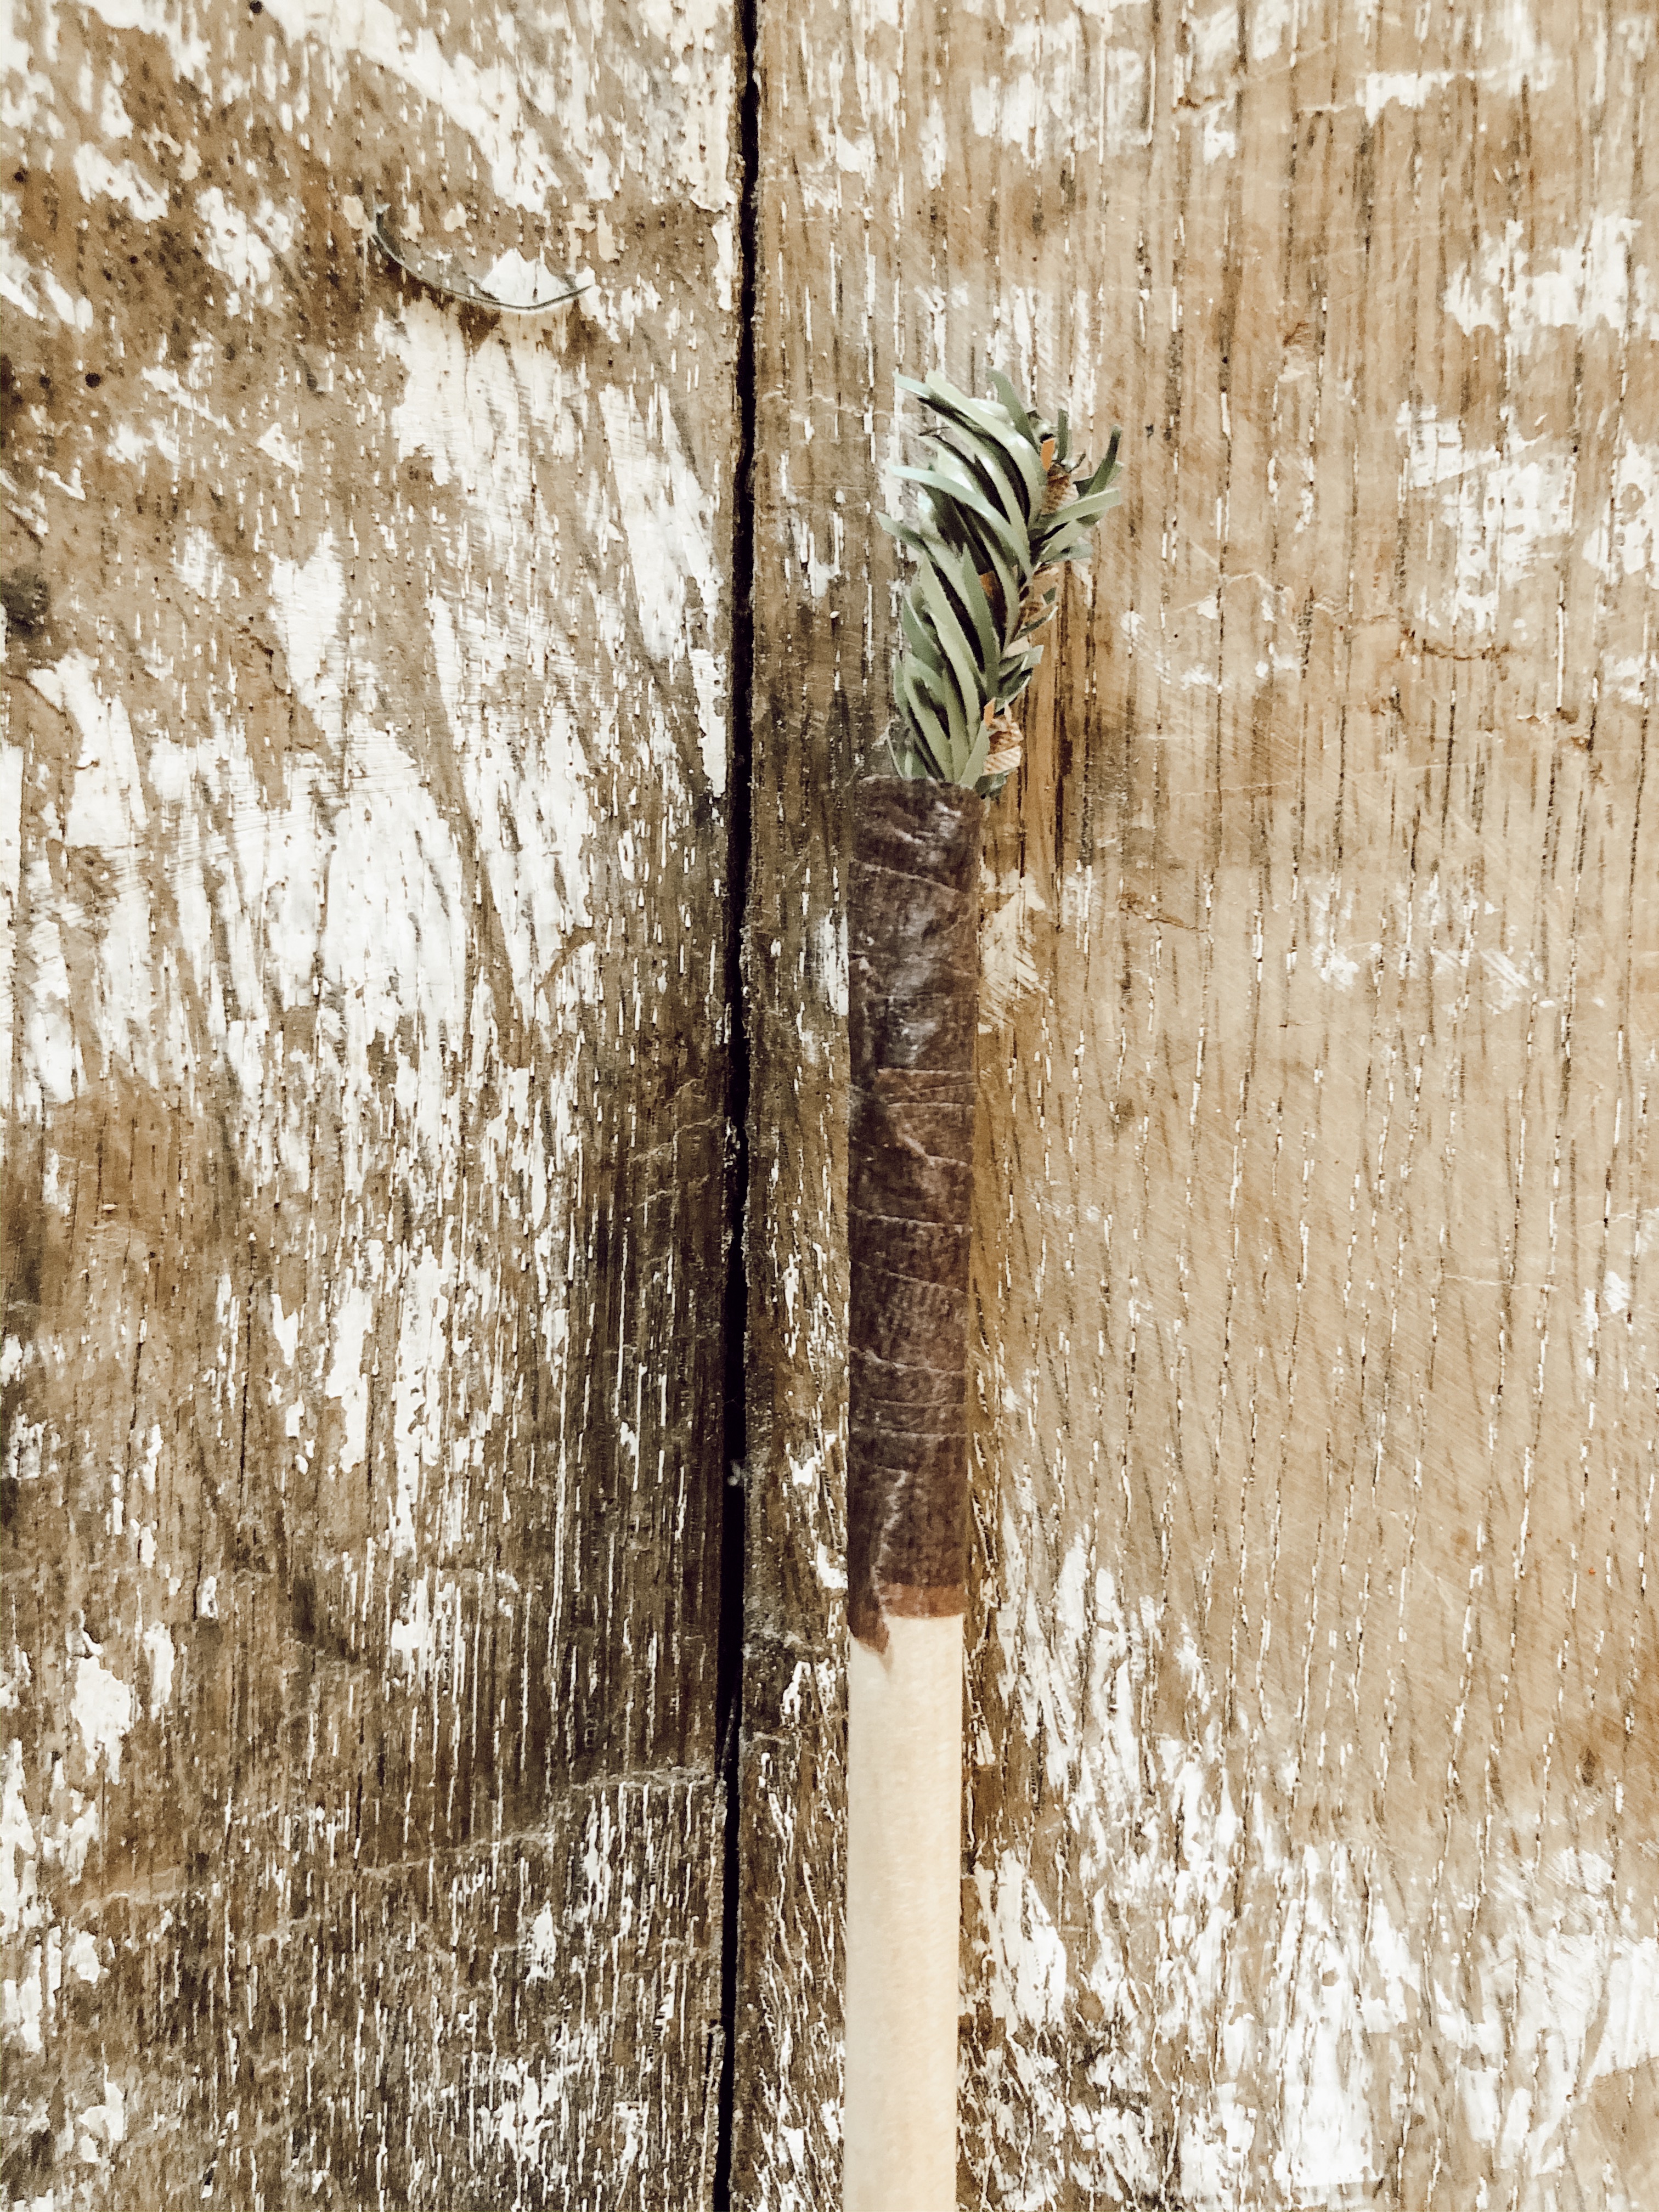
I then just started adding more branches a few inches down in the same exact way, gradually using longer pieces of greenery. Mine have one at the top, a row of three, another row of three, and then a row of four on my tree. But you can do it any way you want. I wrapped the dowel rod all of the way down to the end leaving enough to slip it down in the block of wood or base you picked out.
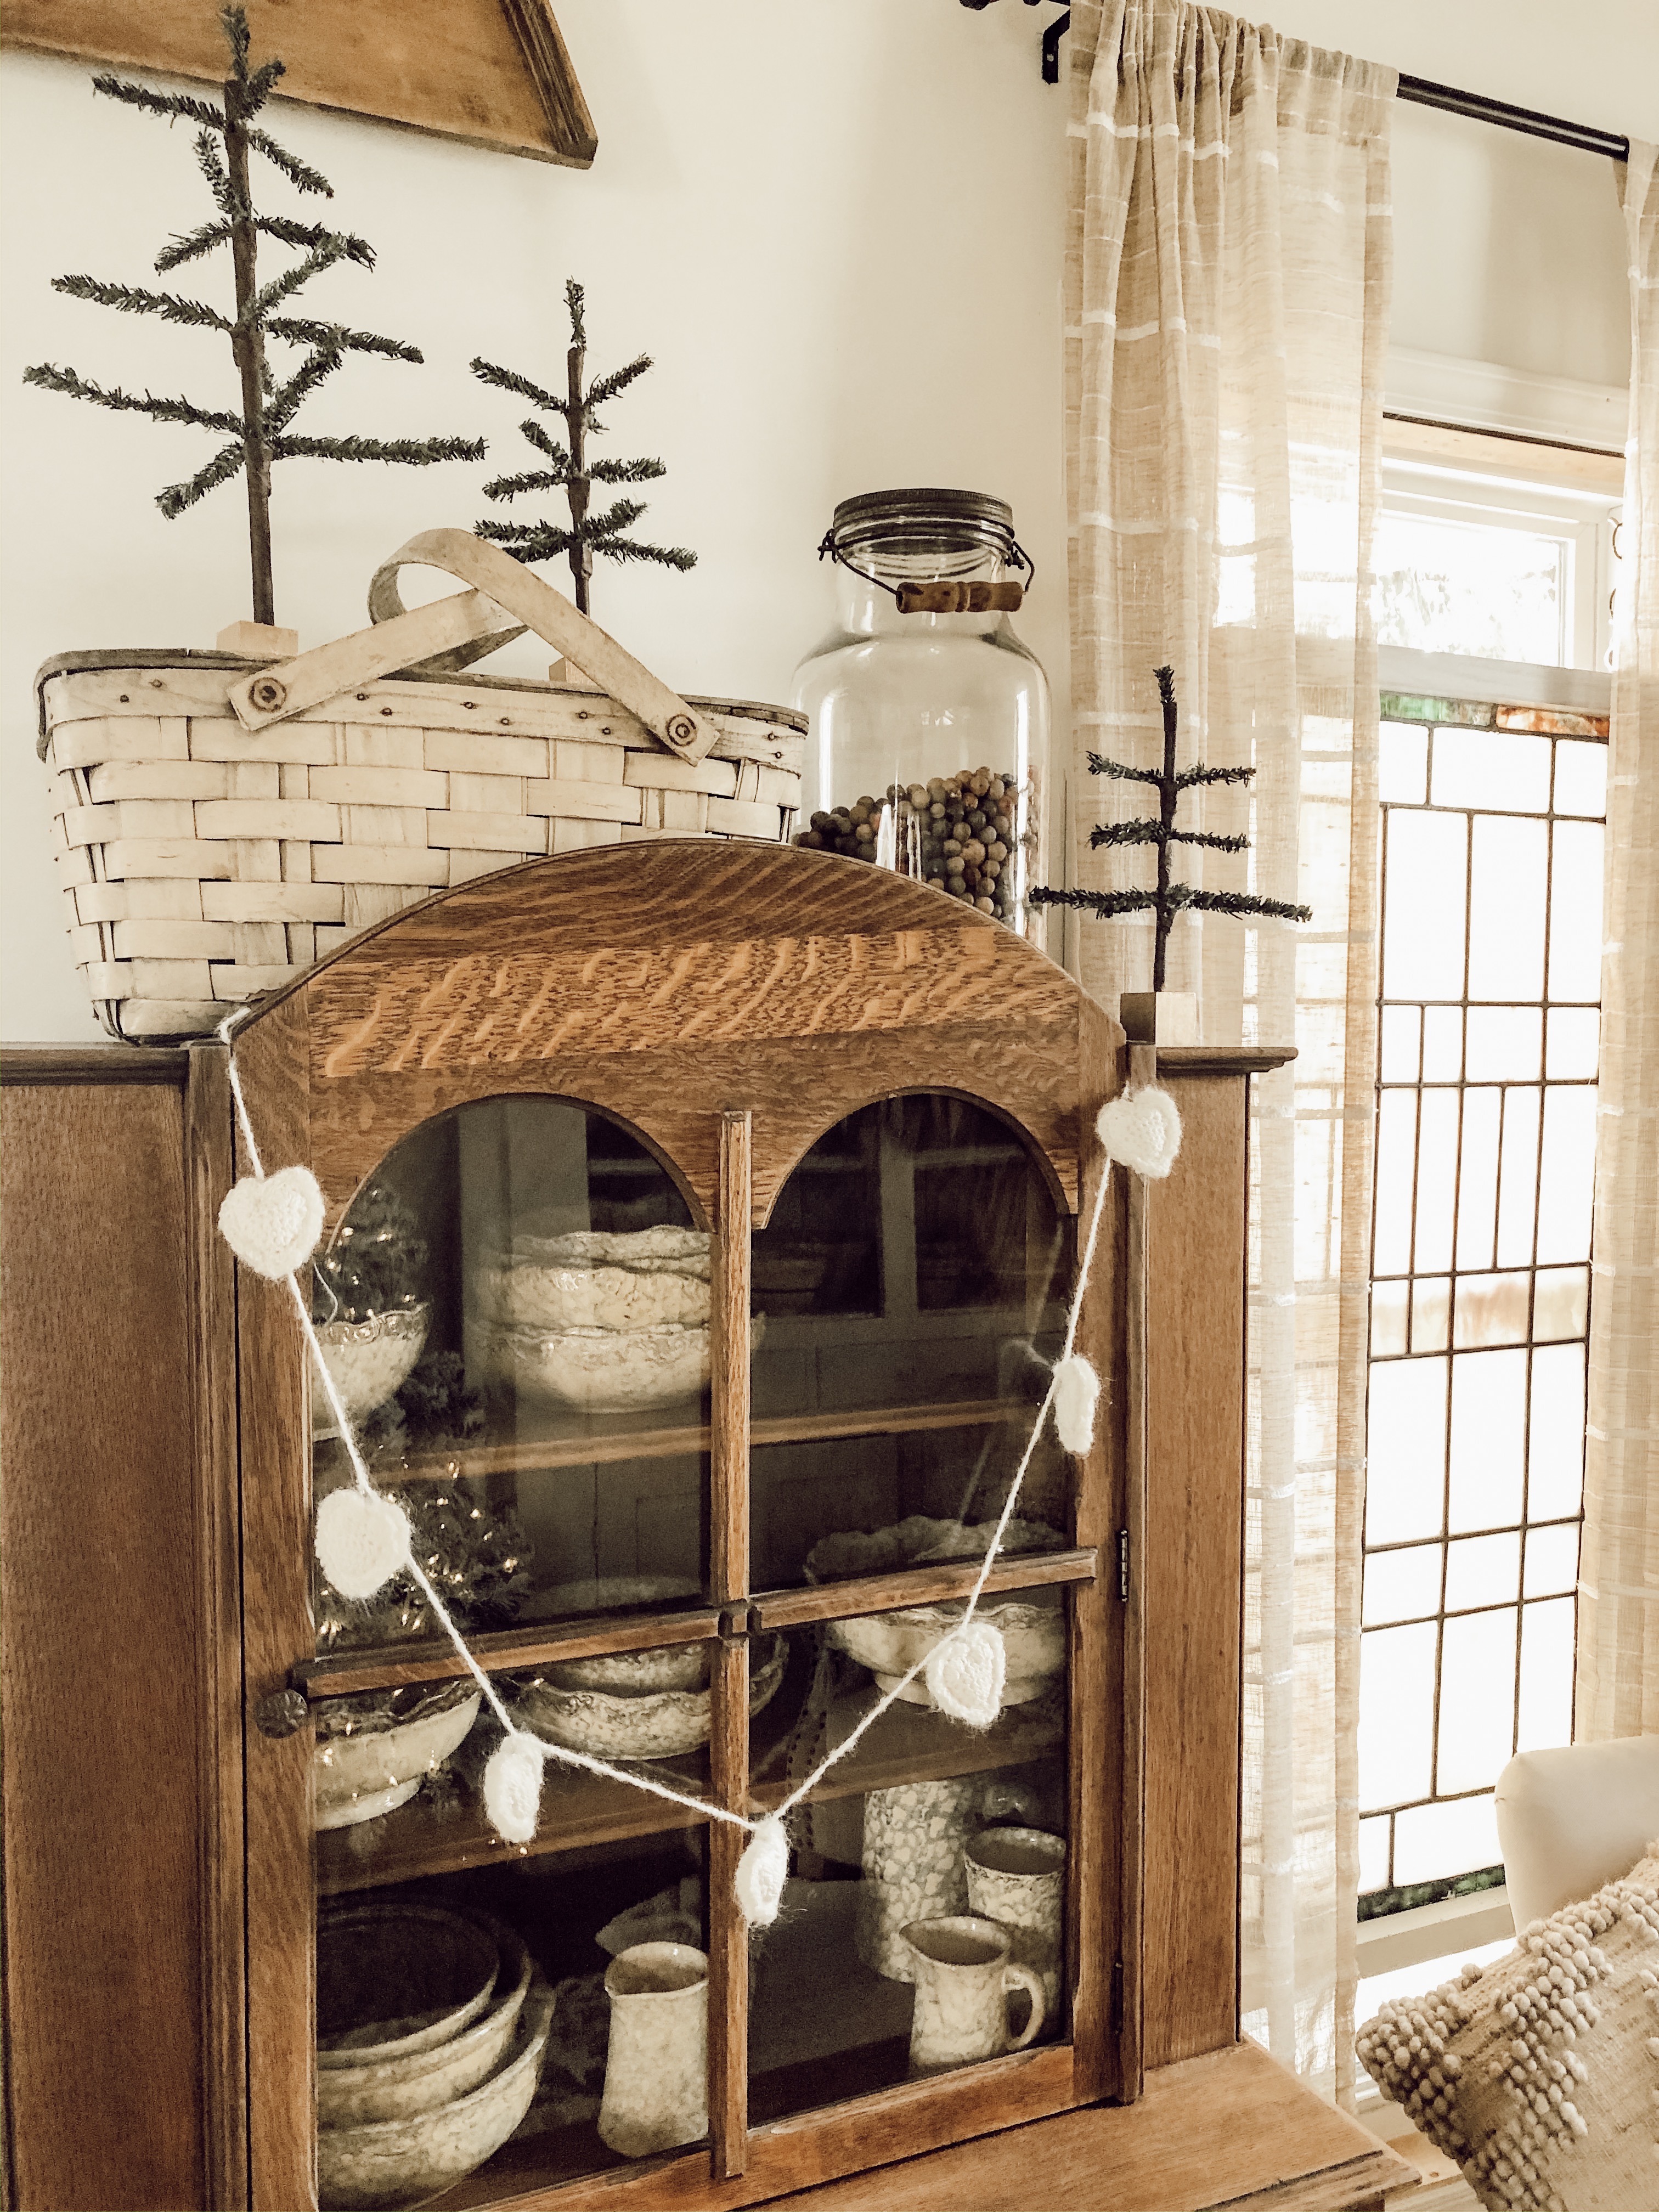
Since I chose a block of wood as my base, I had Deb drill a 5/16″ hole big enough to hold the dowel rod and hot glued it into place. I then painted the bases gold.
I like how they turned out and thought it was a simple easy project that didn’t cost much. As I said above, these would make cute table favors if you are having a party and wanted a home made gift to give. I’ve made them in all sizes in the past to use in my decor, too.
Let me know if you make them and tag me in your photos on Instagram and Facebook. I would love to see them.



DeeDee says
Hi Danelle!
These are so adorable and I love them! The minute I saw you making them on IG I knew I wanted to try it! I had to go get the dowel rod and tape but I had everything else already. I made ONE! Girl, that tape aint no joke! lol! Maybe mine was bad? Haha! Also, I had to get green tape because Wally World didn’t carry brown. Oh well, it turned out great and I love it! I posted it on IG (ddcamp170) and tagged you. Thank you so much for the inspiration! I can’t wait for your next craft! 🙂
Danelle Harvey says
hahaha Thanks… and seriously. I had to scrub my fingers because that tape is so sticky.